Download
Version 1.0.0 | October 8, 2026 | macOS Apple Silicon | CC BY-NC-ND 4.0 | Changelog
Download previous versions
| Version (DMG) | Platform | Date | User Guide (PDF) |
|---|
SUPPORT MY WORK!
Please consider donating to help me further improve this tool and make it more user-friendly. Thank you!
Why disto?
Almost every lens bends straight lines a little. Lines near the edges of the picture bow outwards (barrel distortion) or inwards (pincushion distortion), and some wide-angle lenses do a bit of both, bowing one way near the centre and the other near the edge, a shape often called “moustache” distortion. Whatever its shape, the amount depends only on how far a point lies from the lens’s optical axis, the line through the centre of the lens. Points on the axis are not moved at all; the further out a point lies, the more it is moved.
Most mainstream lens profiles, such as those built into RAW developers, assume that the optical axis passes through the centre of the sensor. On an ordinary camera that is true. On a tech camera with a shifted lens it is not: shifting slides the lens sideways, or up and down, over the sensor, so the optical axis lands somewhere else, sometimes even outside the frame. A correction centred on the sensor then straightens the wrong part of the picture and can make a shifted frame worse rather than better.
disto models the lens instead of the sensor. A profile describes the lens’s distortion in millimeters around its own optical axis, across the whole image circle, the full circle of picture the lens projects, of which the sensor only ever sees a part. When you correct a shot, you tell disto the shift you used, and it works out where the optical axis fell on that particular frame and corrects around that point, even when the point lies outside the frame.
Any lens can be profiled, that gives a fantastic opportunity to breathe new life into some old and lesser-known ones!
disto comes as a desktop app (Disto.app) and as a command-line tool. Both give identical results, and the app shows each command it runs so you can repeat it in a script.
Calibrate
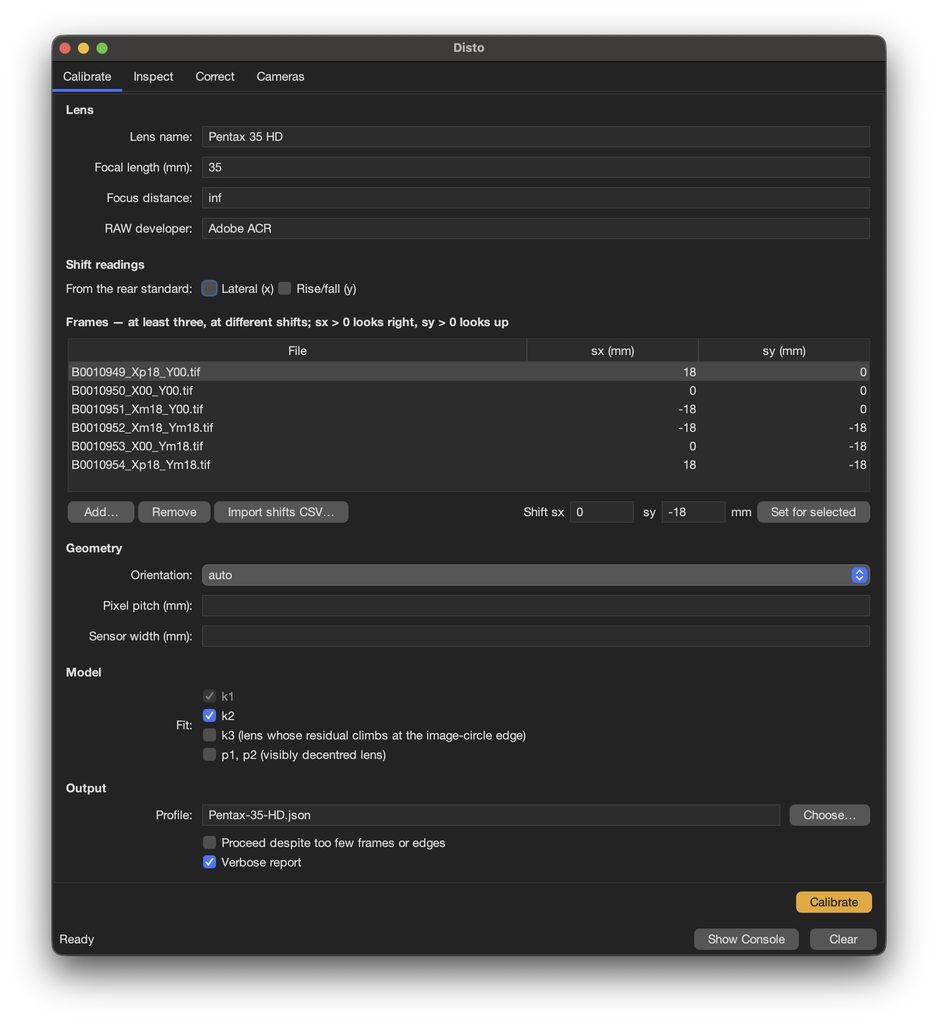
The Calibrate panel is where disto learns how a lens distorts. You give it a handful of photographs of a scene with long straight edges, such as a brick wall or a building façade, each taken with the lens shifted to a different position, and you tell it the shift of each one.
disto then finds the straight edges in every frame and measures how much the lens has bent them. From all the frames together, it calculates a few numbers, the distortion coefficients, that describe the lens’s distortion. Applied in reverse, they make every edge in every frame straight again at once.
The result is saved as a profile: a small .json file that describes this lens at this focus distance. You calibrate once per lens (and again for each focus distance you work at, if you work close up). After that, you use the profile on the Correct tab for every picture taken with the lens.
Inspect
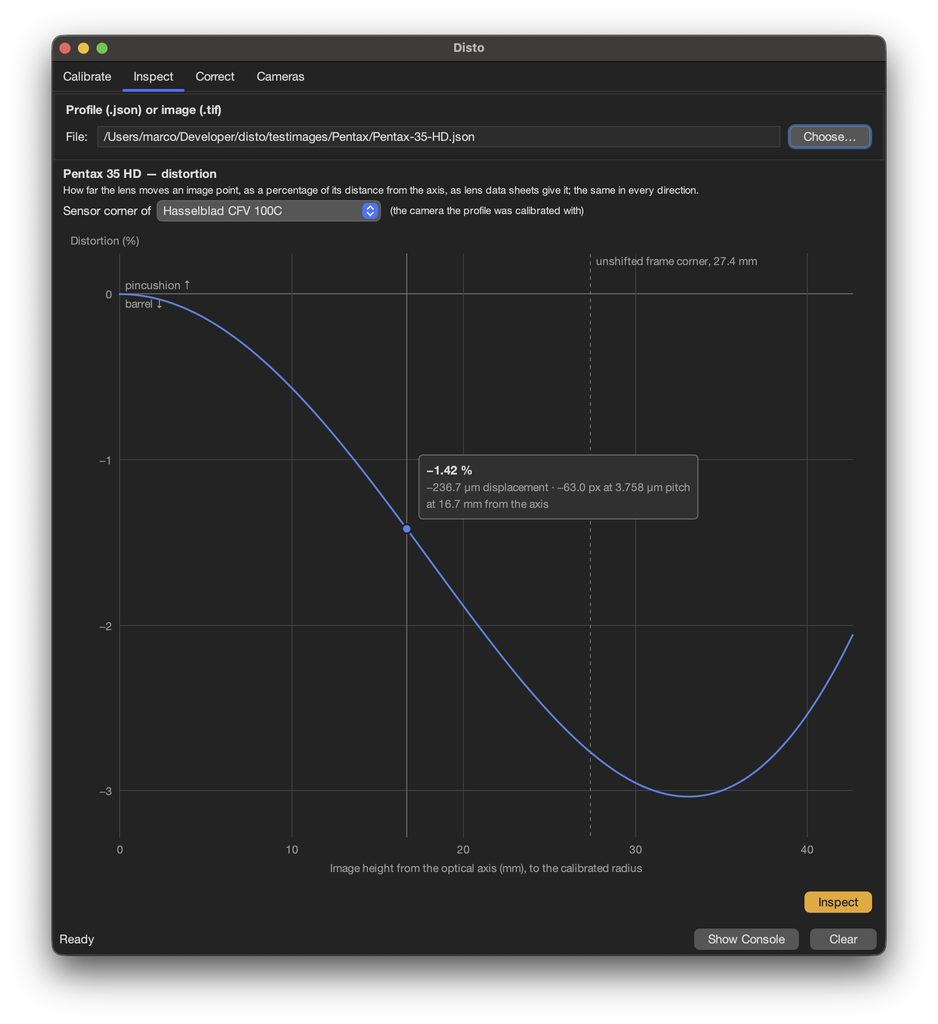
The Inspect panel lets you look before you act. It never changes or writes any file; it only shows you information. It does one of two jobs, depending on the file you give it:
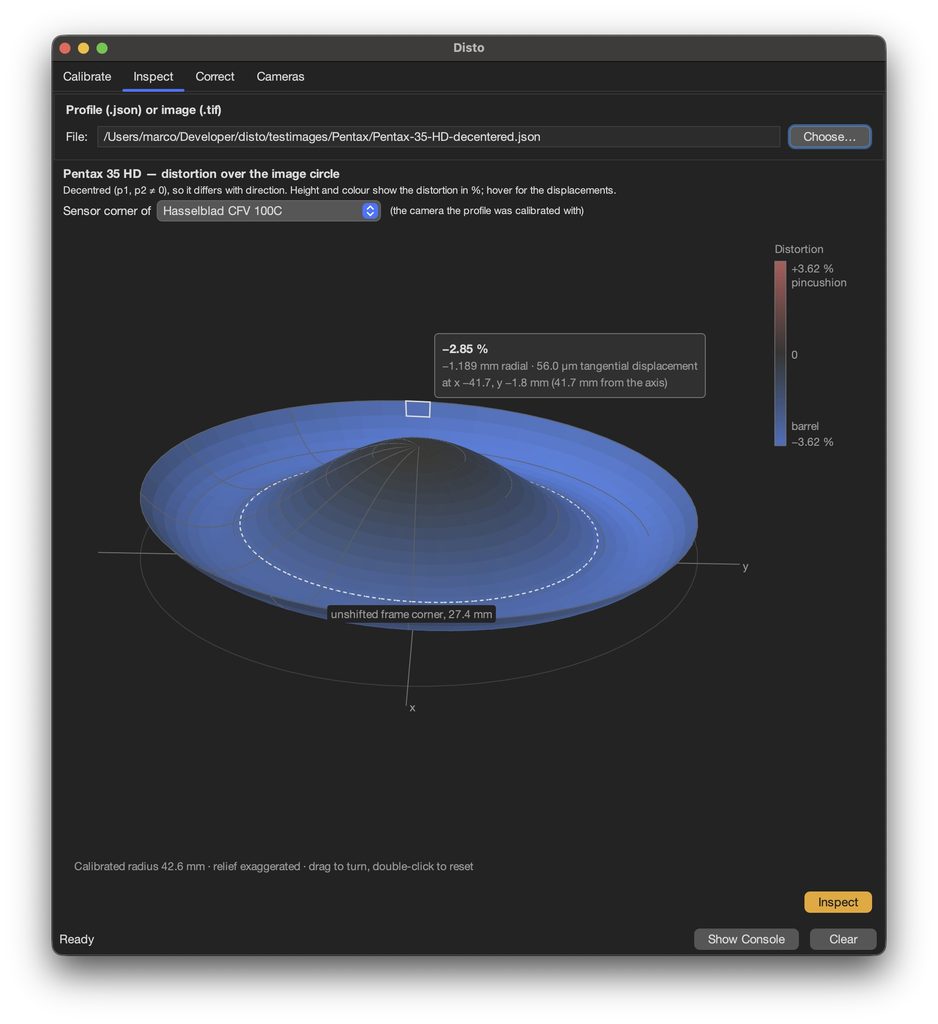
A profile (.json): the tab draws a chart of the lens’s distortion, the same kind of curve lens makers print in their data sheets. Use it to check that a fresh calibration looks plausible, or to compare lenses.
A TIFF and a shift: the tab reports how disto understands that file: which camera and pixel pitch it found, how the file was scaled and oriented, and, most importantly, where it places the optical axis for the shift you entered. This is the quickest way to make sure your shift entries and rear-standard setting are right before you correct a whole batch.
For decentered lenses, the profile is not symmetrical, so the distortion profile is plotted in three dimensions and can be dragged with the mouse for better analysis:
Correct
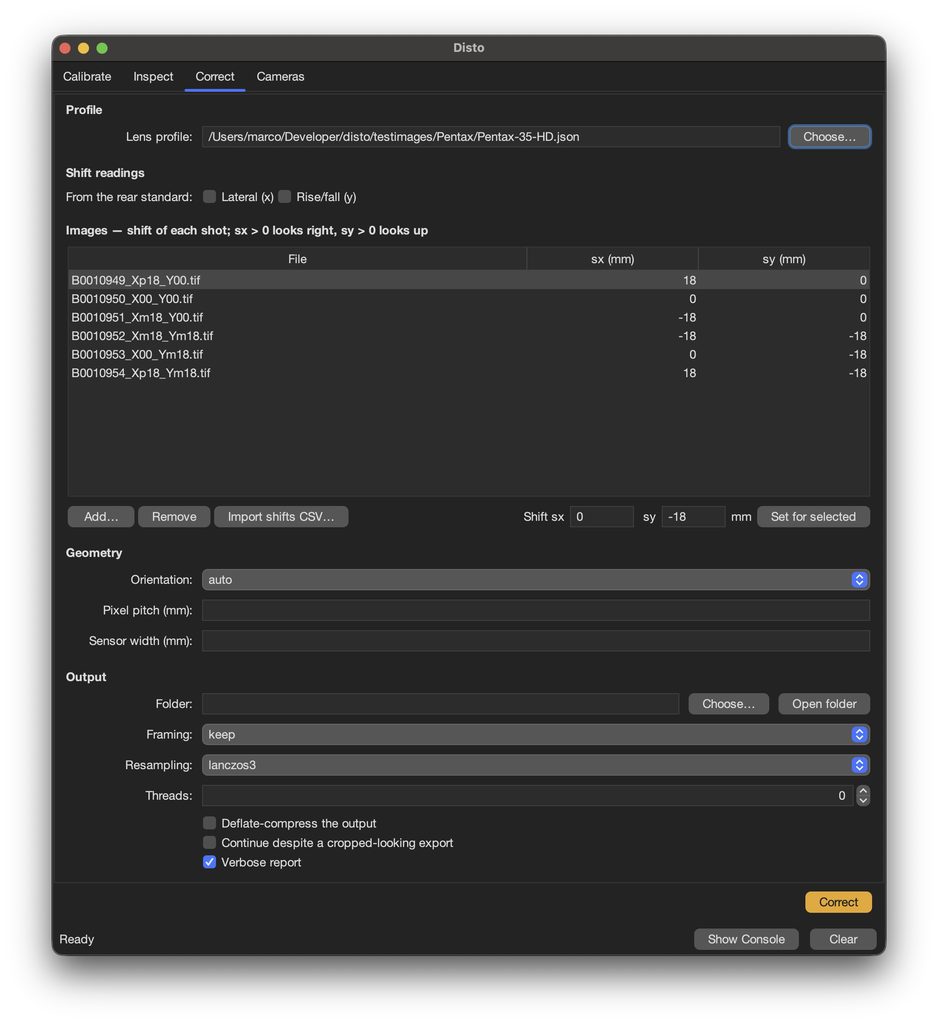
The Correct panel is the everyday part of disto. It takes the TIFFs your RAW developer exported, removes the lens’s distortion from each one, and saves the results as new files in a folder of your choice.
You give it three things: the lens’s profile (made on the Calibrate tab), the files, and the shift each file was taken at. For each file, disto works out where the optical axis fell on that frame, using the shift, and straightens the picture around that point, so straight lines in the scene come out straight in the picture.
Your original files are never changed. Each corrected copy keeps the original’s color profile and metadata, and records what disto did to it.
Cameras
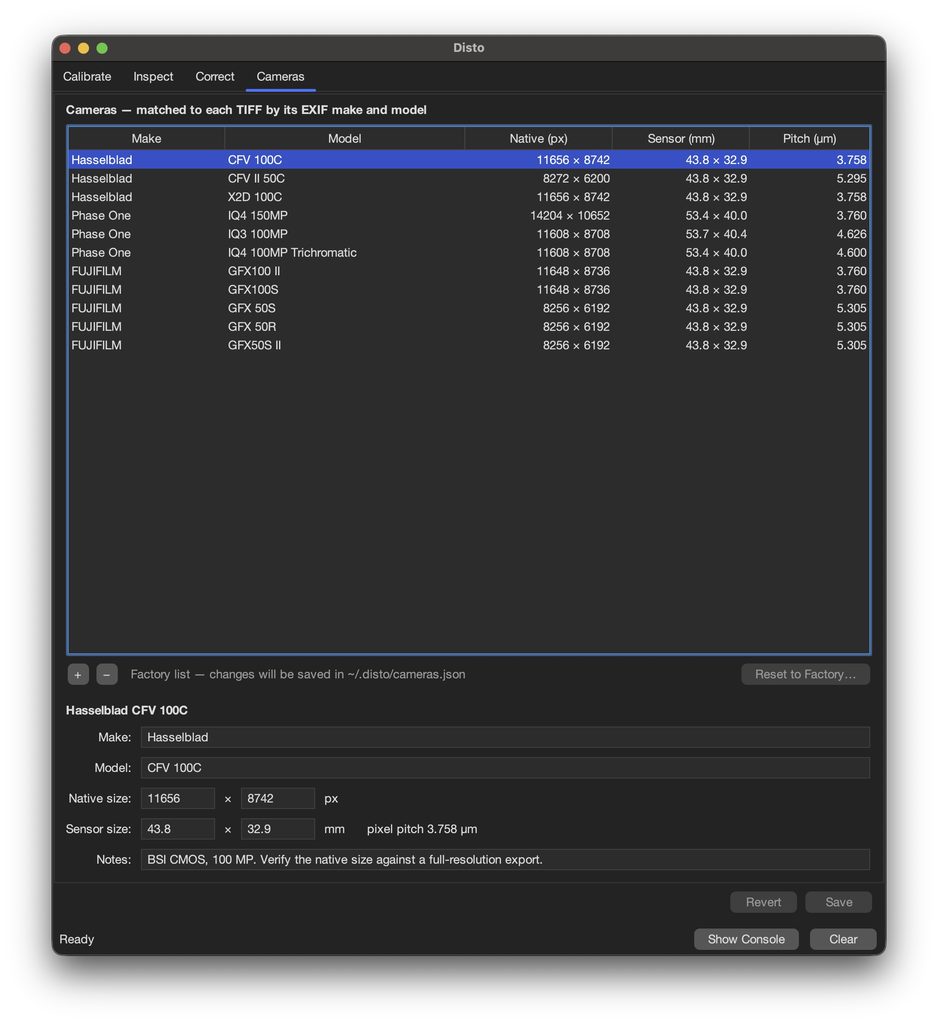
The Cameras panel is disto’s list of camera sensors. disto needs it because profiles measure in millimeters and images in pixels: to convert from one to the other, disto has to know the size of a pixel on the sensor. It finds that by matching the camera name written in each TIFF against this list.
You will rarely need this tab. The list comes with common medium-format backs, and when you add a file from a camera that is missing, disto offers to add it for you. Come here to look up an entry, correct a mistake, remove a camera, or add one by hand.
Examples
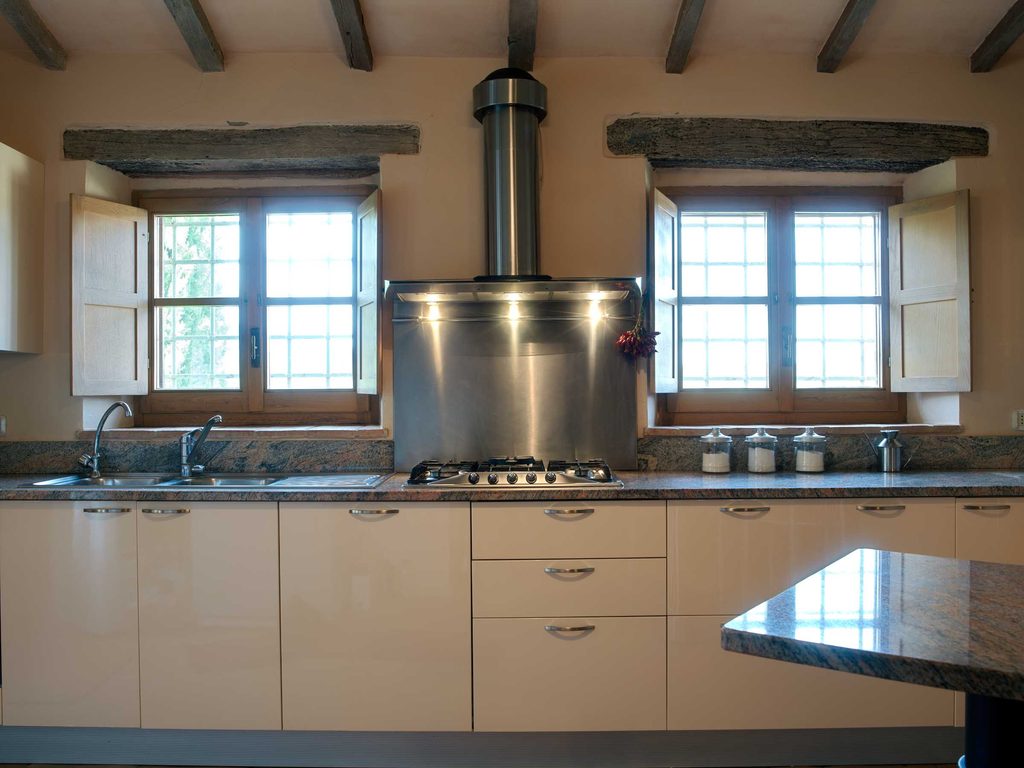
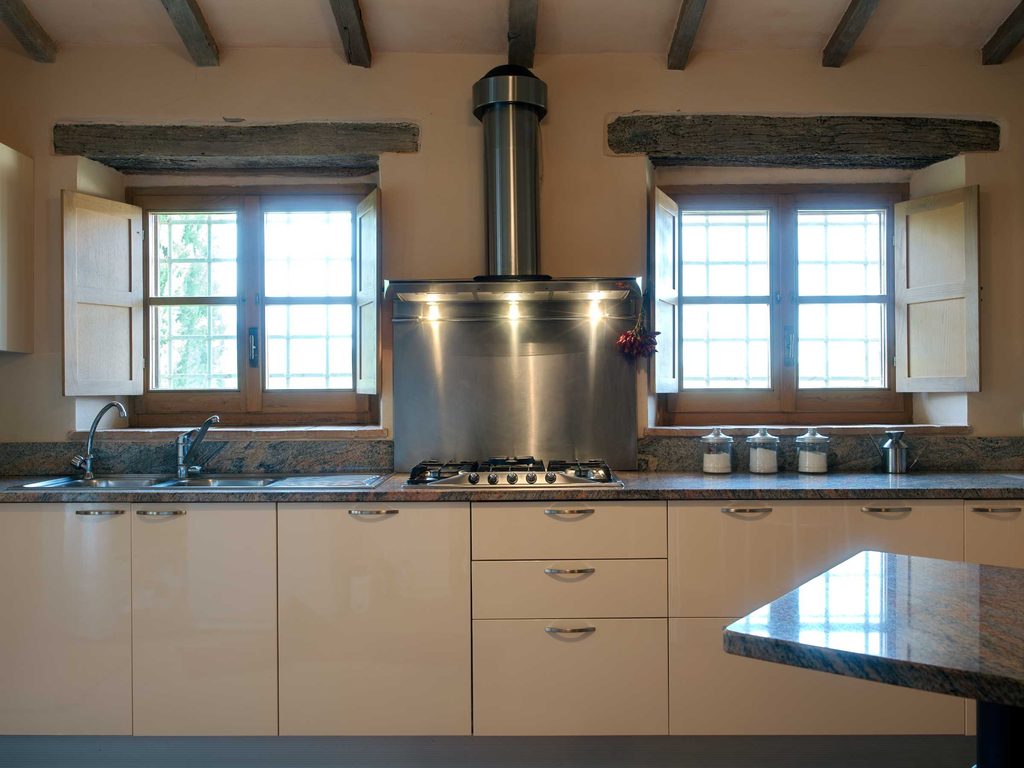
disto is still an experimental solution in its early (beta) stage. Here below some initial examples are presented. More will come.
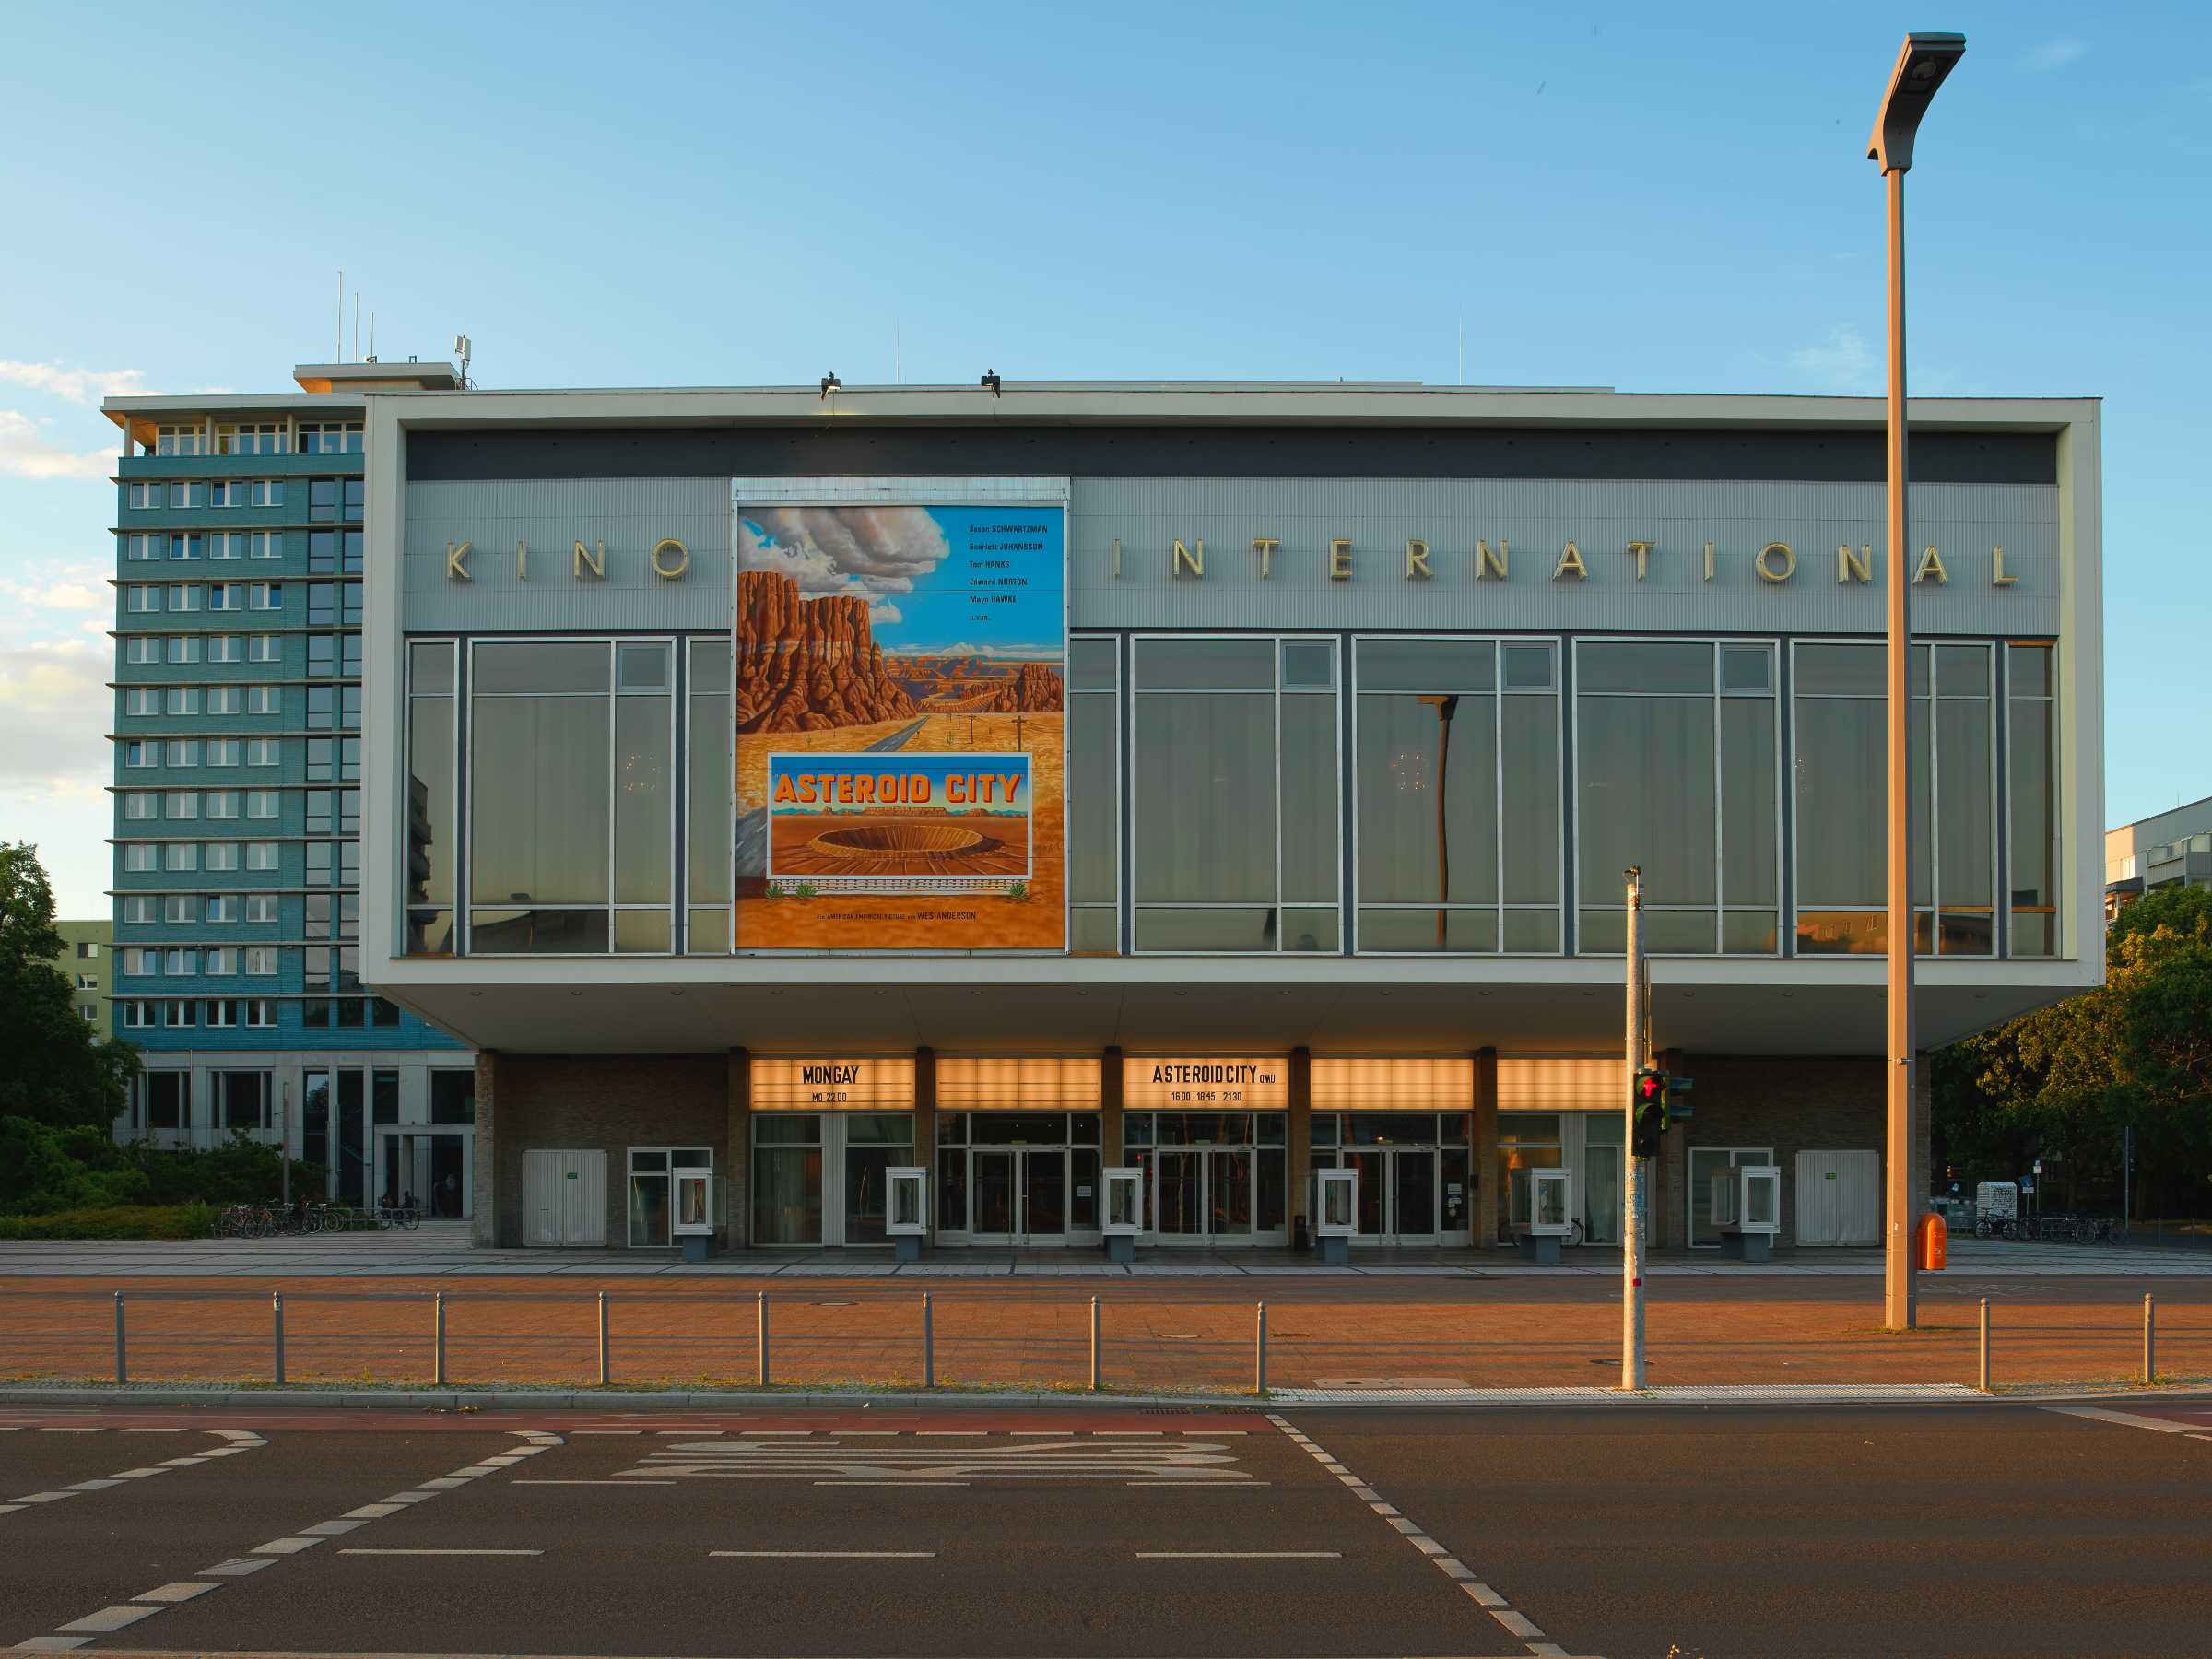
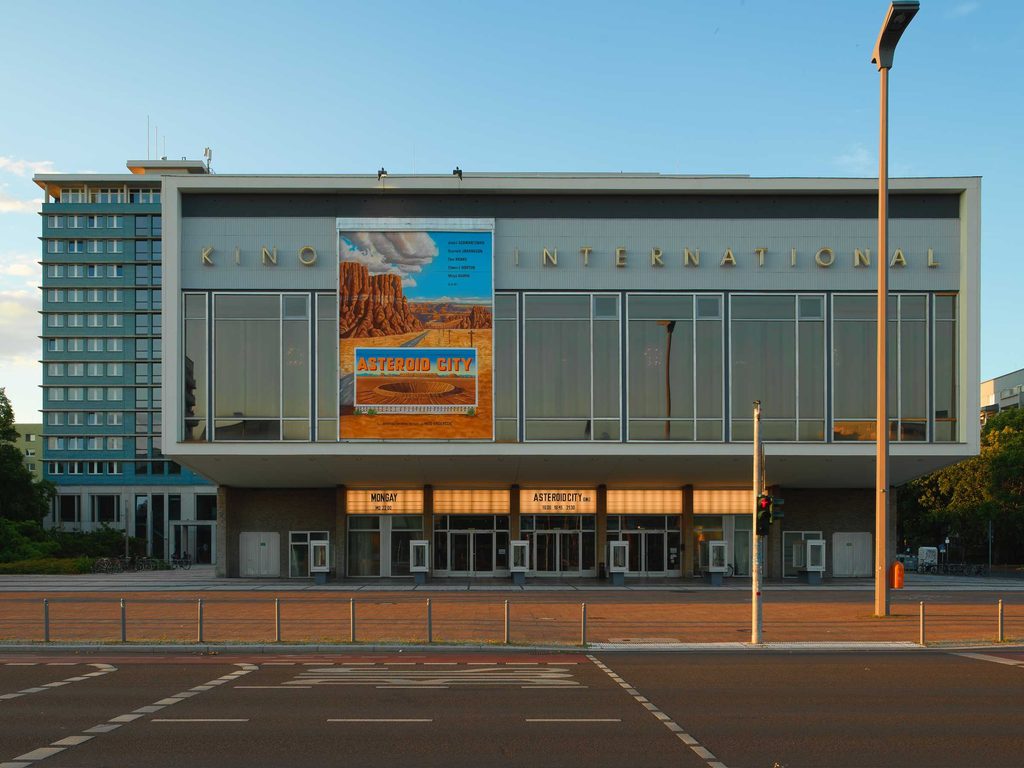
Kino International (Berlin)
KITCHEN (TUSCANY)